Skip to content

Tap Reviver Kits

Revive your old, worn out bath and kitchen taps with our tap reviver kits. Our kits feature a mix of replacement tap heads, lever heads, mixer tap heads and crosshead tap revivers and come with everything you need to give your taps a new lease of life, including washers, o-rings, and screws. Say goodbye to drips and leaks and enjoy a fully functioning tap once again. 

Tap Reviver Kits at the Bathroom Accessory Co.

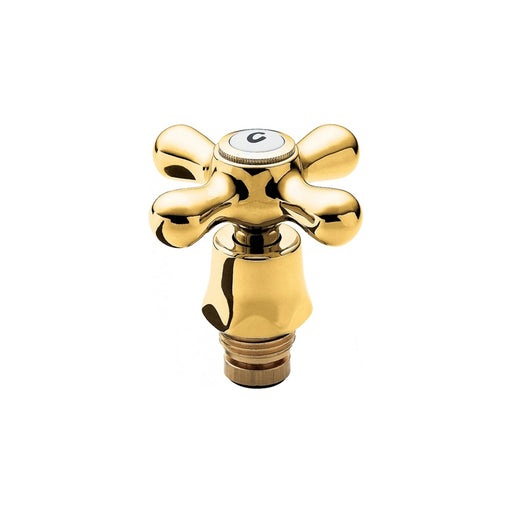
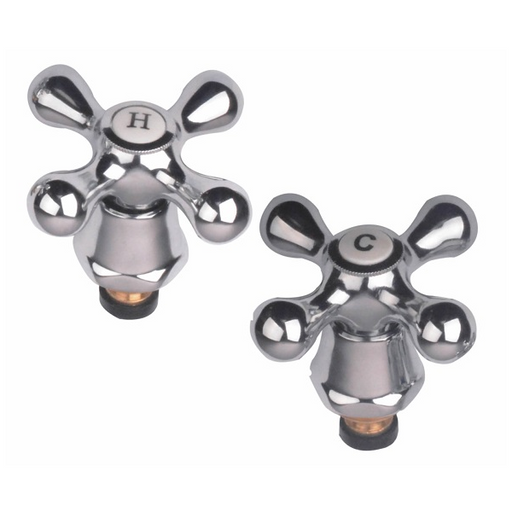
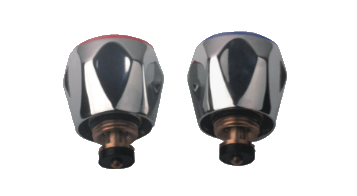
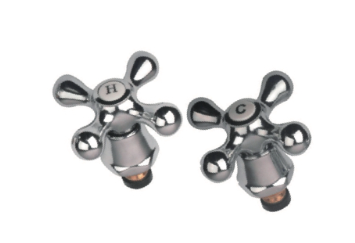
A tap reviver kit is a set of components used to repair and restore old, worn out taps. These kits typically include washers, o-rings, screws, and other small parts that can become worn or damaged over time, causing leaks and drips. By replacing these components with new ones, a tap reviver kit can restore your tap to its original functioning state, saving you the hassle and expense of replacing the entire tap. Tap reviver kits are easy to use and can be a cost-effective solution for maintaining the taps in your home or workplace.

Why would I use a tap reviver kit and not just replace the taps?

There are several reasons why you might choose to use a tap reviver kit instead of replacing your taps outright.

Firstly, tap reviver kits can be a more cost-effective solution, particularly if your taps are in good condition apart from a few worn or damaged components.

Secondly, replacing taps can be a more complex and time-consuming process than simply fitting a tap reviver kit, which can often be done in a matter of minutes. Additionally, if you have a particularly old or unique set of taps that are no longer available, a tap reviver kit may be your only option for restoring them to working order.

Finally, using a tap reviver kit is also a more environmentally friendly option, as it reduces the amount of waste generated by replacing taps unnecessarily.

How do I fit a Tap Reviver Kit?

Fitting a tap reviver kit is a relatively simple process that can be completed in a few easy steps:

  1. Turn off the water supply to the tap. This can usually be done by turning off the isolation valve located under the sink or basin.
  2. Remove the tap head by unscrewing the retaining screw or gently prying off the cap with a flat-head screwdriver.
  3. Use pliers to remove the old washer and o-ring from the tap body.
  4. Insert the new washer and o-ring from the tap reviver kit onto the tap body, making sure they are seated securely.
  5. Replace the tap head and screw it back into place.
  6. Turn the water supply back on and test the tap for leaks or drips.

If you are unsure about any of these steps or encounter any difficulties during the process, it is always best to consult a professional plumber to ensure that the tap reviver kit is fitted correctly and safely.