
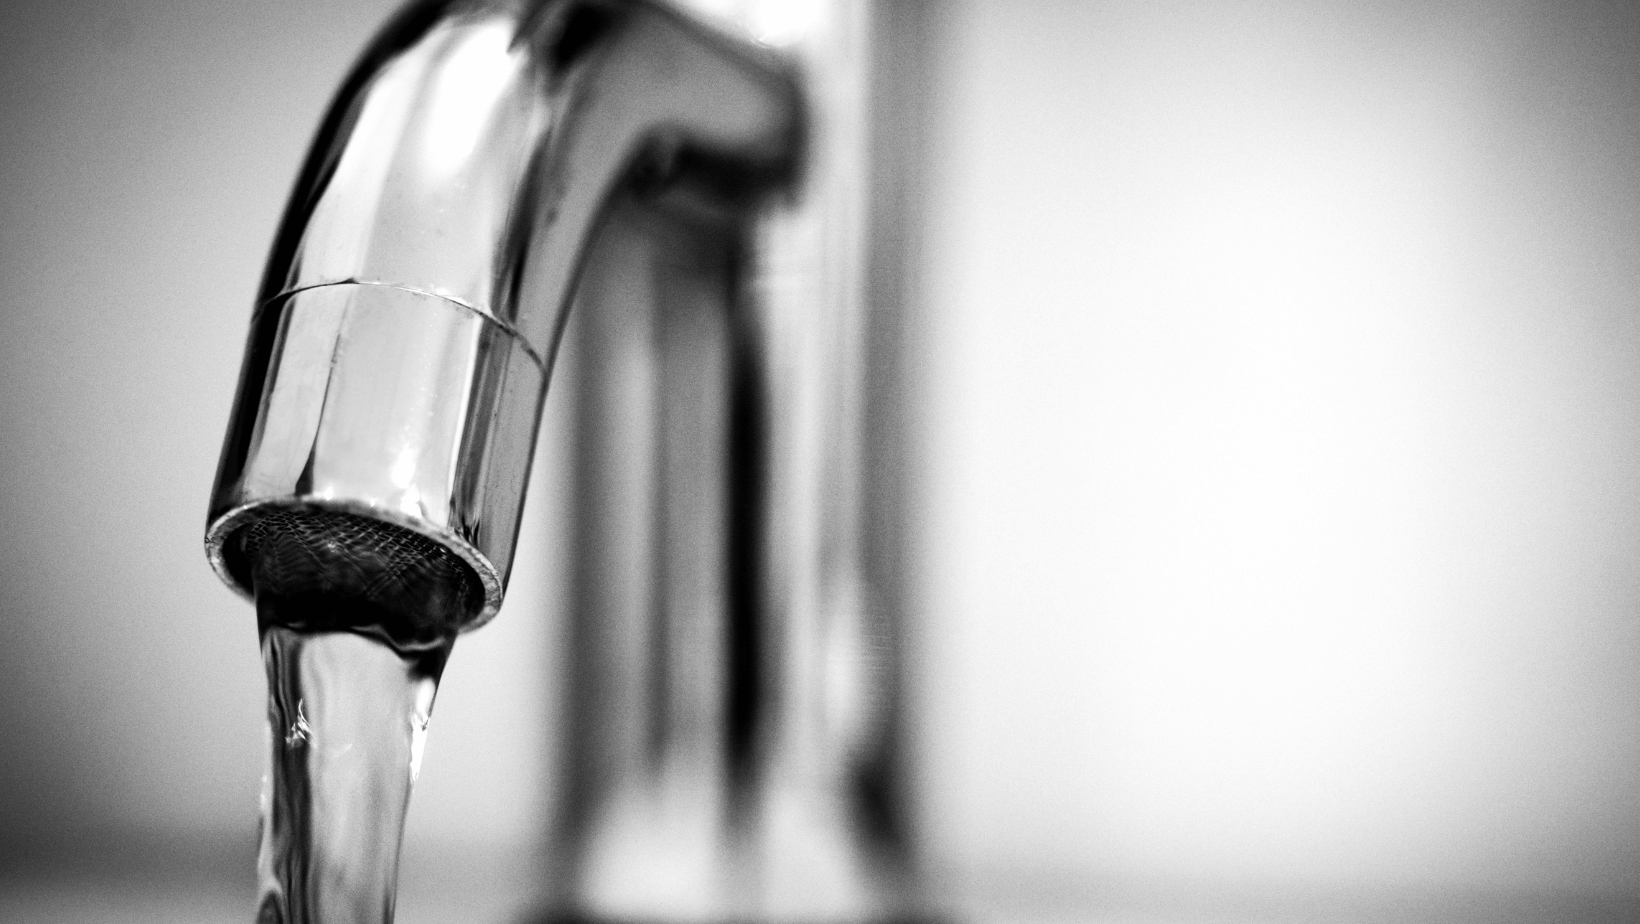
How to Quickly Fix That Leaking Bathroom Tap!
We all need our bathroom taps to work properly so that we can enjoy a good bathing experience. But what if your bathroom bath or basin tap is leaking?
Fixing a leaking bathroom tap is not as hard as it seems.
Introduction - What Causes a Leaking Tap?
Before we dive into how to fix a leaking bathroom tap, let's first understand what causes a leaking tap. The most common cause of a leaking tap is wear and tear. Over time, the rubber washers, O-rings and other components inside the tap can become worn out and start leaking. Other causes of a leaking tap include incorrect installation, age, and corrosion.
If your tap is new, chances are the washers or o-rings could have been installed incorrectly or the tap was not screwed tightly enough in the first place.
How to Diagnose the Problem
Diagnosing the problem is the first step in fixing a leaking bathroom tap. To diagnose a leaking tap, you need to first identify where the leak is coming from. This can be done by visually inspecting the tap and its components. If you identify the source of the leak, it will be easier to fix it.
Once you identify the source of the leak, you can then check the components of the tap to see if they are worn out or damaged. If you find that any of the components are worn out or damaged, you can replace them with new components.
Simple Guide to Fixing a Leaking Tap
Now that you have identified the source of the leak and checked the components, it's time to fix the leaking bathroom tap. Here is a step-by-step guide to help you fix a leaking tap:
- Turn off the water supply to the tap.
- Unscrew the tap handle and remove the cartridge.
- Inspect the cartridge for any wear and tear. If the cartridge is worn out, replace it.
- Inspect the O-rings and washers for any damage. If they are damaged, replace them.
- Reassemble the tap and make sure all the components are tightened properly.
- Turn on the water supply and check for any leaks.
Take a look at this help video:
Tools and Materials Needed
Before you start fixing a leaking tap, you need to make sure you have the right tools and materials. Here is the list of tools and materials you will need:
- Adjustable wrench
- Screwdriver
- Allen Keys
- Replacement O-rings
- Replacement washers
- Replacement cartridge
Tips for Fixing a Leaking Tap
Fixing a leaking bathroom tap can be a tricky task, so here are some tips to help you out:
- Make sure to turn off the water supply to the tap before starting the repair.
- Be very careful when handling the tap components. You may need some WD-40 to loosen tight fittings.
- Make sure to tighten all components properly.
- If you are replacing the cartridge, make sure to get the right size and type.
How to Prevent a Leaking Tap
Now that we know how to fix a leaking tap, let's look at how to prevent a leaking tap. Here are some tips to help you prevent a leaking tap:
- Make sure to inspect the tap regularly and check for any signs of wear and tear.
- If the tap is getting old, consider replacing it with a new one.
- If you are using a rubber washer, make sure to replace it every few years.
- Make sure to use the correct size and type of components when installing the tap.
Common Tap Leak Problems
Taps can also start leaking due to some common problems. Here are some of the most common tap leak problems:
- A worn-out O-ring or washer
- An incorrectly installed tap
- Leaks at the base of the tap
- Leaks at the handle
- Leaks in the spout
Final Thoughts
Fixing a leaking bathroom tap can be quite a daunting task. But with the right tools, materials and knowledge, you can easily fix a leaking tap in no time. However, it is always recommended to hire a professional if you are not confident in doing the repair yourself.